AMIMOTOでPrometheusとnode_exporterを動かしてみる
今年のアドベントカレンダーも無事終了したようですね。自分が登録している分もなんとか遅刻しつつも全て書きあげることができました。 で、その中で個人的に一番ヒットだったのが、Prometheusです。 次世代監視の大本命! […]
目次
今年のアドベントカレンダーも無事終了したようですね。自分が登録している分もなんとか遅刻しつつも全て書きあげることができました。
で、その中で個人的に一番ヒットだったのが、Prometheusです。
次世代監視の大本命! Prometheus を実運用してみた
「とりあえず動かしてみよう」ということで、いつも使っているEC2のAMIMOTO AMIで動かしてみました。
Prometheusをインストールする
まずはPrometheusをインストールさせます。
$ wget https://github.com/prometheus/prometheus/releases/download/v1.4.1/prometheus-1.4.1.linux-amd64.tar.gz
$ tar xvfz prometheus-1.4.1.linux-amd64.tar.gz
$ cd prometheus-1.4.1.linux-amd64
$ ./prometheus
INFO[0000] Starting prometheus (version=1.4.1, branch=master, revision=2a89e8733f240d3cd57a6520b52c36ac4744ce12)  source=main.go:77
INFO[0000] Build context (go=go1.7.3, user=root@e685d23d8809, date=20161128-09:59:22)  source=main.go:78
INFO[0000] Loading configuration file prometheus.yml     source=main.go:250
INFO[0000] Loading series map and head chunks...         source=storage.go:354
INFO[0000] 0 series loaded.                              source=storage.go:359
INFO[0000] Starting target manager...                    source=targetmanager.go:63
INFO[0000] Listening on :9090                            source=web.go:248
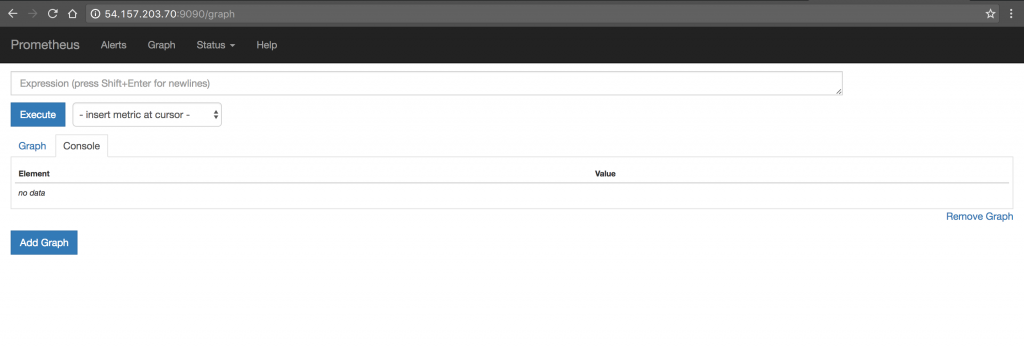
https://YOUR_EIP:9090 にアクセスすると、Prometheusのダッシュボードにアクセスできます。
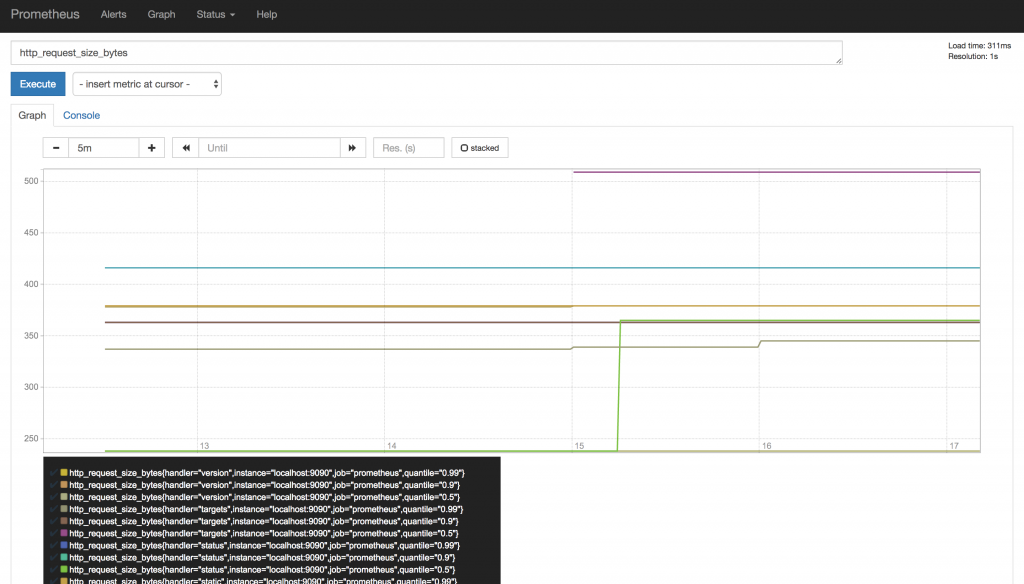
https://YOUR_EIP:9090/metrics にアクセスすると、そのホストで保持しているメトリクス情報が見れます。
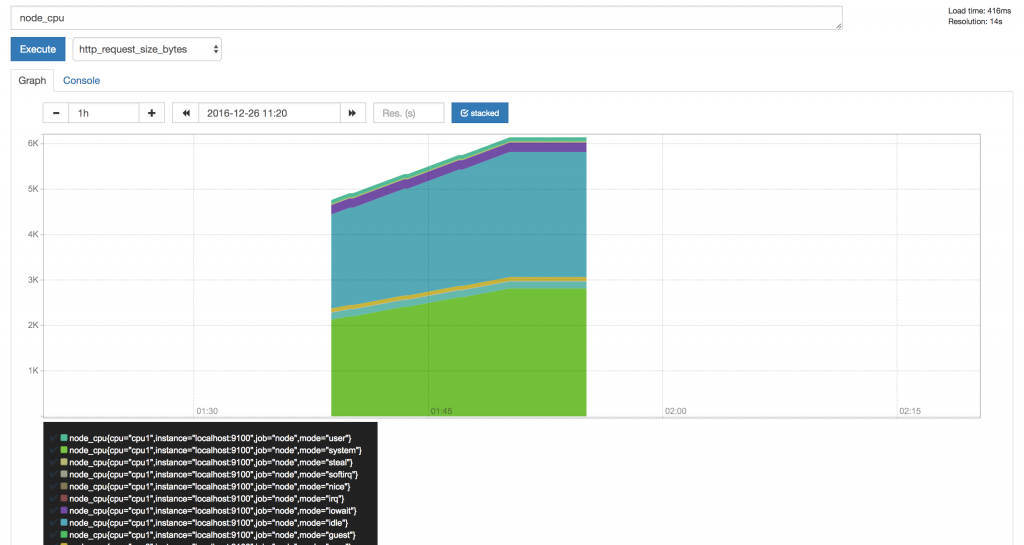
グラフ化もできますが、ビジュアライズに拘りたい方にとってはちょっと物足りないかもしれません。ビジュアライズを重視されたい場合はGrafanaと連携させるか、Elastic Stackを使う方がよいかなという印象です。
node_exporterを稼働させる
$ sudo yum install -y  hg gcc golang
$ git clone https://github.com/prometheus/node_exporter.git
$ cd node_exporter
$ make
$ ./node_exporter &
*GOPATHを設定していないと、makeでコケます。(参考:https://blog.wacul.co.jp/blog/2014/08/22/go/)
node_exporterとPrometheusを接続する
Prometheusはプル型なので、Prometheus側からnode_exporterのデータを取りに行くように設定する必要があります。
ドキュメントのサンプルを参考に、以下のように設定しました。
$ vim prometheus.yml
# my global config
global:
  scrape_interval:     15s # Set the scrape interval to every 15 seconds. Default is every 1 minute.
  evaluation_interval: 15s # Evaluate rules every 15 seconds. The default is every 1 minute.
  # scrape_timeout is set to the global default (10s).

  # Attach these labels to any time series or alerts when communicating with
  # external systems (federation, remote storage, Alertmanager).
  external_labels:
      monitor: 'codelab-monitor'

# Load rules once and periodically evaluate them according to the global 'evaluation_interval'.
rule_files:
  # - "first.rules"
  # - "second.rules"

# A scrape configuration containing exactly one endpoint to scrape:
# Here it's Prometheus itself.
scrape_configs:
  # The job name is added as a label `job=` to any timeseries scraped from this config.
  - job_name: 'prometheus'

    # metrics_path defaults to '/metrics'
    # scheme defaults to 'http'.

    static_configs:
      - targets: ['localhost:9090']
  - job_name: 'node'
    static_configs:
      - targets: ['localhost:9100']
Prometheusを再起動させる
今度は先程作成した設定ファイルを読み込んだ状態で起動させます。
$ ./prometheus -config.file=prometheus.yml
https://YOUR_EIP:9090/targets#job-prometheus でアクセスして、追加したジョブが追加されていればOKです。

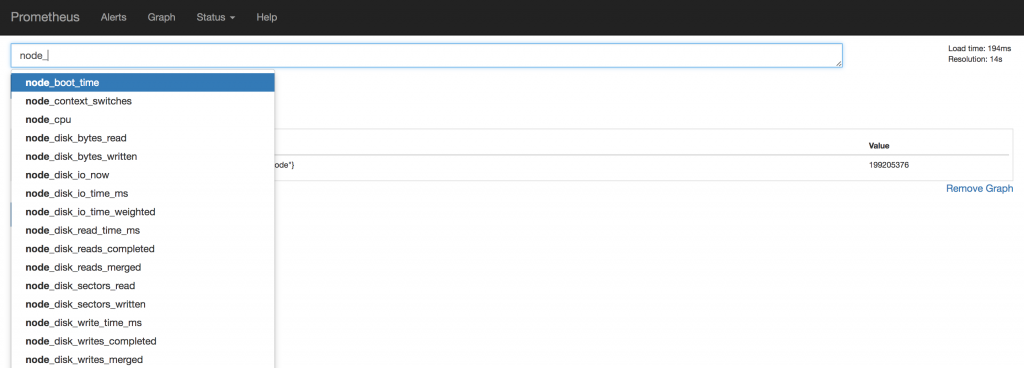
ひとまずここまででPrometheusからメトリクスの確認やグラフ化ができるようになりました。
アラートを出す仕組みなどもあります、というかむしろこちらが中軸機能の様子ですので、進捗があり次第こちらもシェアいたします。
最後に
とりあえずAMIMOTO AMIもといAmazon LinuxでPrometheusとnode_exporterを動かしてみました。
個人的にはこのあたりDockerを使う方が取り回しが良さそうな気がしますので、ECSでクラスターを組んで複数のサーバーを監視する仕組みを作ってみたりもできればなと思います。


